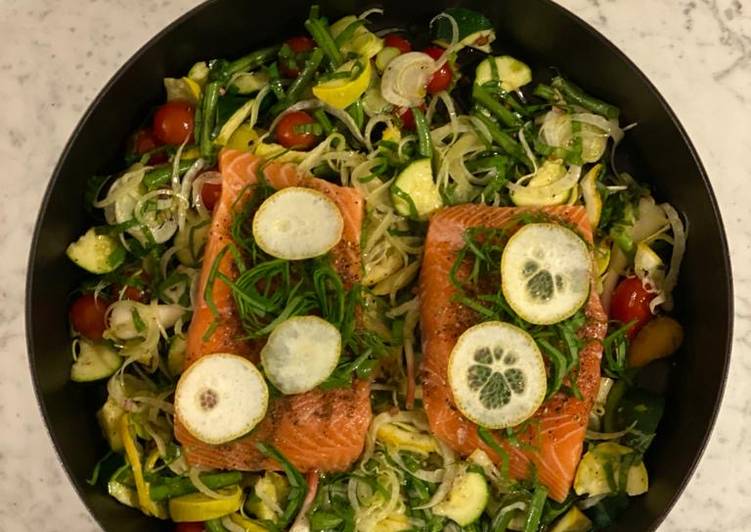
Hey everyone, welcome to our recipe page, if you're looking for Hyderabadi Biryani Rice (with tutorial pics) recipe, look no further! We provide you only the perfect Hyderabadi Biryani Rice (with tutorial pics) recipe here. We also have wide variety of recipes to try.

Before you jump to Hyderabadi Biryani Rice (with tutorial pics) recipe, you may want to read this short interesting healthy tips about Tips For Living Green And Lowering costs In The Kitchen.
It was certainly not that long ago that hippies and tree huggers were the only ones to show concern about the well-being of the ecosystem. That has totally changed now, since we all seem to have an awareness that the planet is having troubles, and we all have a part to play in fixing it. According to the experts, to clean up the natural environment we are all going to have to make some improvements. Each and every family ought to start generating changes that are environmentally friendly and they should do this soon. Here are a few tips that can help you save energy, for the most part by making your kitchen area more green.
Why don’t we begin with something quite simple, changing the particular light bulbs. This will probably go further than the kitchen, nonetheless that is okay. Compact fluorescent lightbulbs are usually energy-savers, and you should use them rather than incandescent lights. They cost somewhat more at first, but they last ten times longer, and use a lesser amount of electricity. Changing the light bulbs would certainly keep a lot of bulbs out of the landfills, which is good. Coupled with different light bulbs, you should learn to leave the lights off whenever they are not needed. The family spends a lot of time in the kitchen area, and how frequently does the kitchen light go on in the morning and is left on all day long. And it’s not limited to the kitchen, it goes on in other parts of the house at the same time. Make a habit of having the lights on only when they are necessary, and you’ll be surprised at the amount of electricity you save.
As you can see, there are lots of little things that you can do to save energy, and save money, in the kitchen alone. Green living is actually something we can all accomplish, without difficulty. A lot of it truly is merely making use of common sense.
We hope you got insight from reading it, now let’s go back to hyderabadi biryani rice (with tutorial pics) recipe. You can have hyderabadi biryani rice (with tutorial pics) using 33 ingredients and 5 steps. Here is how you cook that.
The ingredients needed to cook Hyderabadi Biryani Rice (with tutorial pics):
- Provide 400 g Chicken
- Provide 1 cup Basmathi Rice (soaked)
- Provide 2 Tbsp Cooking Oil
- Provide 2 Tbsp Butter or Ghee
- Prepare as needed Salt
- Get 2 cups Water (or more)
- Get [Garnish]
- Prepare 1/2 cup Caramelised Onions or Shallots
- Get 10 g Mint Leaves
- Take 10 g Fresh Coriander Leaves
- You need 1/4 cup Lemon Juice
- Provide 1/4 cup Milk with Saffron/Yellow Coloring
- Prepare [Aromatics]
- Take 1 pc Cinnamon Stick
- You need 2 pc Star Anise
- Provide 3 pc Cardamom Pods
- Prepare 4 pc Cloves
- Use 5 pc Peppercorn
- Take 1 tsp Caraway Seeds
- Prepare [Biryani Paste] - processed in a blender
- Prepare 1/2 cup Caramelised Onions or Shallots
- Take 10 g Mint Leaves
- Use 10 g Fresh Coriander Leaves
- Provide 30 g Red Chillies (deseed)
- Take 30 g Green Chillies (deseed)
- You need 20 g Ginger
- Provide 20 g Garlic
- Get 20 g Turmeric
- You need 1/4 cup Yogurt (70 g)
- Use 1/4 Lemon Juice
- Prepare 1 tsp Salt
- Get 2 tsp Sugar
- Get 1 Tbsp Garam Masala
Instructions to make Hyderabadi Biryani Rice (with tutorial pics):
- MARINADE: marinate the Chicken in the Biryani Paste for 30 minutes or 3 hours to overnight.
- RICE: in a pot of Water, add the Aromatics, Salt and Rice. Cook it until it is almost cooked (50-70%). Then, strain the rice and set aside. MEANWHILE, in an adequate sized Dutch Oven, melt the Ghee or Butter with Cooking Oil and let it cool.
- LAYERING: once the Butter and Oil are cooled, arrange the Chicken neatly in the Dutch Oven along with all the Biryani Paste. Then, evenly lay out the Rice on top of the Chicken. Then top off the Rice with the Garnish, as well as Milk-Saffron solution (or Milk-Coloring)
- SLOW COOK: cover the Dutch Oven with a lid and cook the Biryani on Medium heat for 5 minutes, and then TURN DOWN to Low heat and continue to cook for 20-25 more minutes. Check if the Chicken is tender (no easy way to do this). When the Biryani is ready to serve, garnish with more Caramelised Shallots, Coriander and Mint Leaves.
- Don't worry if this happen to the pot's bottom, it's part of the process. Just soak the pot overnight scrub it in the morning.
If you find this Hyderabadi Biryani Rice (with tutorial pics) recipe useful please share it to your close friends or family, thank you and good luck.